There’s something quietly elegant about Earl Grey tea. The delicate scent of bergamot, the warmth of steeped leaves, the way it pairs so effortlessly with a cozy afternoon. For tea lovers like me, it’s more than a beverage—it’s a ritual. So, it was only natural to turn that fragrant flavor into a dessert that feels just as refined and comforting: No-Bake Earl Grey Mousse Cheesecake.

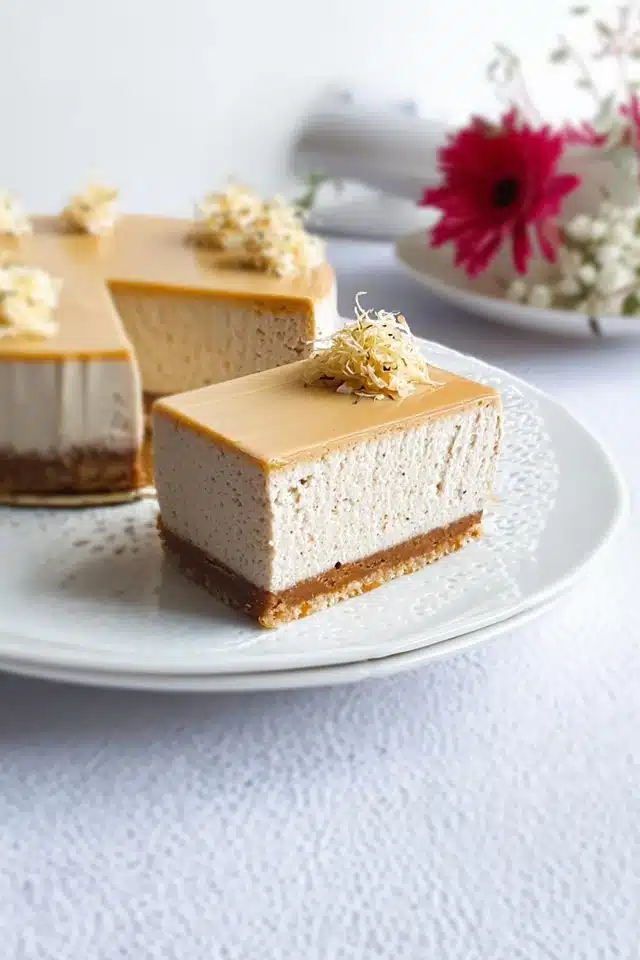
This recipe is inspired by slow afternoons spent with a warm cup of tea and a good book. It’s the kind of dessert you serve when you want to impress without the stress—no oven required, just a touch of patience and a few simple steps. The flavor is delicate but distinct: a silky mousse laced with the essence of Earl Grey, resting on a buttery cookie crust. Creamy, light, and softly floral, it’s perfect for brunches, baby showers, garden parties, or a quiet evening in.
Whether you’re a fan of classic cheesecake or looking for something more unique, this no-bake version offers the perfect balance of texture, flavor, and ease. One bite, and you’ll understand why it’s become a favorite in my kitchen—and among my tea-loving friends.
Why You’ll Love This Recipe:
- Elegant and unique flavor from Earl Grey tea
- No baking required—perfect for warm days or busy schedules
- Silky, mousse-like texture with a buttery crust
- Great for make-ahead entertaining
- Pairs beautifully with tea or light dessert wines

No-Bake Earl Grey Mousse Cheesecake
- Yield: 8–10 slices 1x
Description
There’s something quietly elegant about Earl Grey tea. The delicate scent of bergamot, the warmth of steeped leaves, the way it pairs so effortlessly with a cozy afternoon. For tea lovers like me, it’s more than a beverage—it’s a ritual. So, it was only natural to turn that fragrant flavor into a dessert that feels just as refined and comforting: No-Bake Earl Grey Mousse Cheesecake.
This recipe is inspired by slow afternoons spent with a warm cup of tea and a good book. It’s the kind of dessert you serve when you want to impress without the stress—no oven required, just a touch of patience and a few simple steps. The flavor is delicate but distinct: a silky mousse laced with the essence of Earl Grey, resting on a buttery cookie crust. Creamy, light, and softly floral, it’s perfect for brunches, baby showers, garden parties, or a quiet evening in.
Whether you’re a fan of classic cheesecake or looking for something more unique, this no-bake version offers the perfect balance of texture, flavor, and ease. One bite, and you’ll understand why it’s become a favorite in my kitchen—and among my tea-loving friends.
Ingredients
-
1½ cups graham cracker crumbs (or digestive biscuits)
-
6 tablespoons unsalted butter, melted
-
2 tablespoons granulated sugar
-
Pinch of salt
For the Earl Grey Cheesecake Filling:
-
¾ cup heavy cream
-
2 tablespoons loose-leaf Earl Grey tea (or 3 tea bags)
-
16 oz cream cheese, softened
-
⅔ cup powdered sugar
-
1 teaspoon vanilla extract
-
1 tablespoon lemon juice (optional, enhances flavor)
-
1 teaspoon gelatin powder (or agar-agar for vegetarian option)
-
2 tablespoons cold water
Instructions
Step 1: Make the crust
In a mixing bowl, combine graham cracker crumbs, melted butter, sugar, and a pinch of salt. Stir until the mixture resembles wet sand. Press firmly into the bottom of a 9-inch springform pan or tart pan. Use the back of a spoon or a flat-bottomed glass to smooth it out. Chill in the fridge while you make the filling.
Step 2: Infuse the cream
In a small saucepan, heat the heavy cream until just steaming (don’t let it boil). Remove from heat and add the Earl Grey tea. Cover and let steep for 15 minutes. Strain through a fine mesh sieve, pressing on the leaves or bags to extract maximum flavor. Let cool to room temperature.
Step 3: Bloom the gelatin
In a small bowl, sprinkle gelatin over cold water and let it sit for 5 minutes to bloom. Then microwave for 10–15 seconds or heat gently until fully dissolved. Let it cool slightly before adding to the filling.
Step 4: Make the mousse filling
In a large bowl, beat the softened cream cheese until smooth and fluffy. Add powdered sugar, vanilla extract, and lemon juice (if using). Mix well. Slowly pour in the infused cream, beating on low speed to combine.
Add the dissolved gelatin and mix until fully incorporated.
Step 5: Assemble and chill
Pour the Earl Grey cheesecake filling over the chilled crust. Smooth the top with a spatula. Cover and refrigerate for at least 6 hours, or overnight, until set.
Step 6: Garnish and serve
Before serving, garnish with a dusting of tea leaves, whipped cream, edible flowers, or a thin slice of lemon for an elegant touch.
Notes
This cheesecake stores beautifully and is even better the next day as the flavors deepen. You can also divide it into individual jars or ramekins for elegant single-serve desserts.
Nutrition
- Calories: 310
INGREDIENTS YOU’LL NEED:
For the Crust:
- 1½ cups graham cracker crumbs (or digestive biscuits)
- 6 tablespoons unsalted butter, melted
- 2 tablespoons granulated sugar
- Pinch of salt
For the Earl Grey Cheesecake Filling:
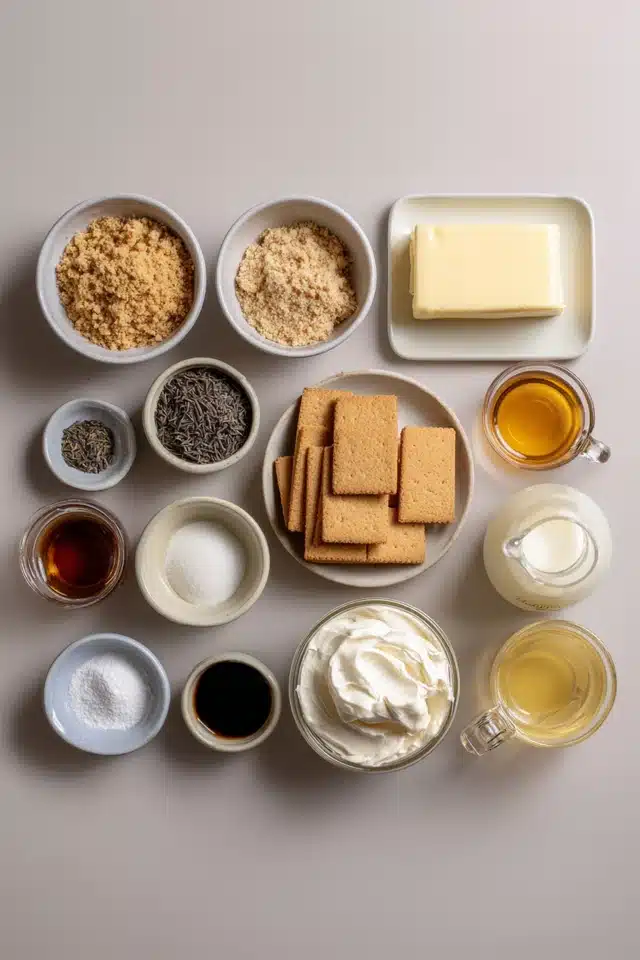
- ¾ cup heavy cream
- 2 tablespoons loose-leaf Earl Grey tea (or 3 tea bags)
- 16 oz cream cheese, softened
- ⅔ cup powdered sugar
- 1 teaspoon vanilla extract
- 1 tablespoon lemon juice (optional, enhances flavor)
- 1 teaspoon gelatin powder (or agar-agar for vegetarian option)
- 2 tablespoons cold water
How to Make No-Bake Earl Grey Mousse Cheesecake
This cheesecake is as simple as steeping tea and whipping cream—no oven time, no water baths, just smooth, spoonable bliss.
STEP-BY-STEP INSTRUCTIONS:
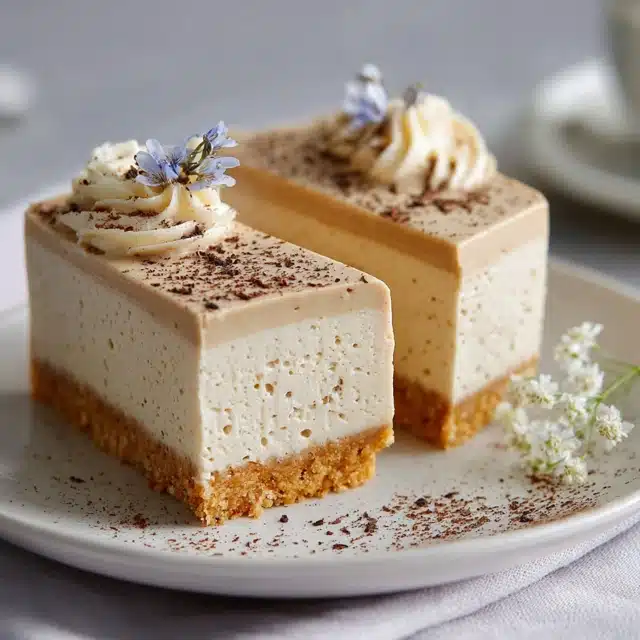
Step 1: Make the crust
In a mixing bowl, combine graham cracker crumbs, melted butter, sugar, and a pinch of salt. Stir until the mixture resembles wet sand. Press firmly into the bottom of a 9-inch springform pan or tart pan. Use the back of a spoon or a flat-bottomed glass to smooth it out. Chill in the fridge while you make the filling.
Step 2: Infuse the cream
In a small saucepan, heat the heavy cream until just steaming (don’t let it boil). Remove from heat and add the Earl Grey tea. Cover and let steep for 15 minutes. Strain through a fine mesh sieve, pressing on the leaves or bags to extract maximum flavor. Let cool to room temperature.
Step 3: Bloom the gelatin
In a small bowl, sprinkle gelatin over cold water and let it sit for 5 minutes to bloom. Then microwave for 10–15 seconds or heat gently until fully dissolved. Let it cool slightly before adding to the filling.
Step 4: Make the mousse filling
In a large bowl, beat the softened cream cheese until smooth and fluffy. Add powdered sugar, vanilla extract, and lemon juice (if using). Mix well. Slowly pour in the infused cream, beating on low speed to combine.
Add the dissolved gelatin and mix until fully incorporated.
Step 5: Assemble and chill
Pour the Earl Grey cheesecake filling over the chilled crust. Smooth the top with a spatula. Cover and refrigerate for at least 6 hours, or overnight, until set.
Step 6: Garnish and serve
Before serving, garnish with a dusting of tea leaves, whipped cream, edible flowers, or a thin slice of lemon for an elegant touch.
HELPFUL TIPS:
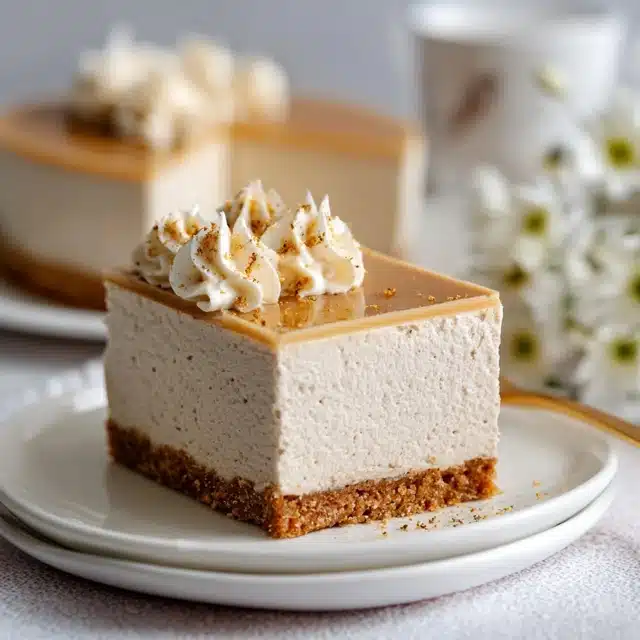
- Use high-quality Earl Grey tea for the best flavor—loose-leaf works best, but tea bags are fine too.
- For a vegetarian option, swap gelatin with agar-agar following the package instructions.
- Lemon juice adds brightness and depth—don’t skip it unless you must!
- Want a stronger tea flavor? Steep more tea or let it sit longer, up to 20 minutes.
DETAILS:
Prep Time: 30 minutes
Chill Time: 6 hours
Total Time: 6 hours 30 minutes
Yield: 8–10 slices
Category: Dessert
Method: No-Bake
Cuisine: European-Inspired
Diet: Vegetarian-friendly (with agar option)
NOTES:
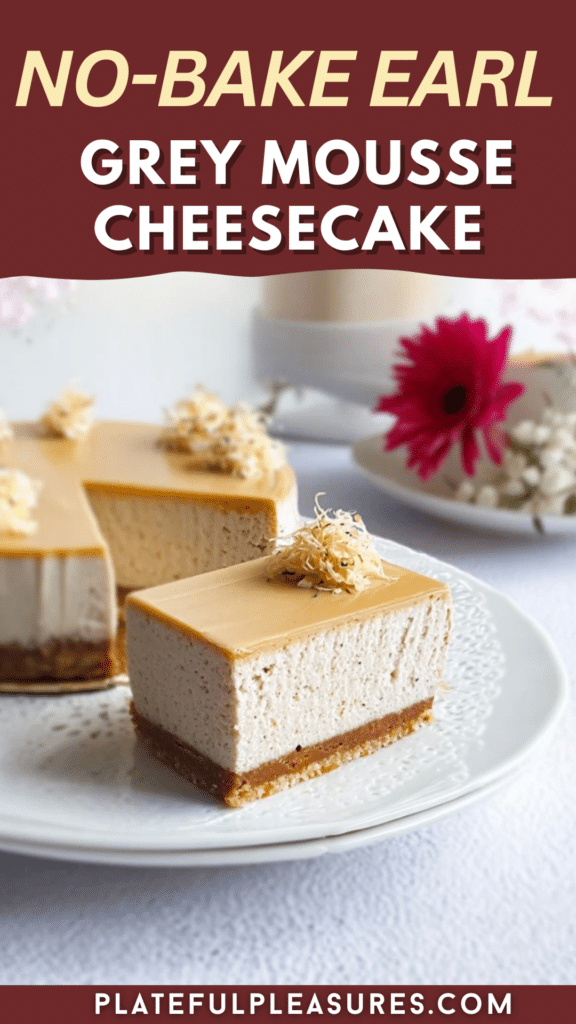
This cheesecake stores beautifully and is even better the next day as the flavors deepen. You can also divide it into individual jars or ramekins for elegant single-serve desserts.
NUTRITIONAL INFORMATION
(Per slice, estimated)
Calories: 310
Protein: 5g
Carbohydrates: 22g
Fat: 22g
Sugar: 14g
Fiber: 1g
FREQUENTLY ASKED QUESTIONS:
Can I make this ahead of time?
Yes! This is the perfect make-ahead dessert. It holds well in the fridge for up to 3 days.
Can I freeze it?
Absolutely. Freeze the whole cheesecake or individual slices for up to a month. Thaw overnight in the fridge before serving.
Does it taste strongly of tea?
The flavor is delicate but present. For a stronger profile, steep longer or add more tea.
Can I use flavored Earl Grey?
Yes! Lavender or vanilla Earl Grey blends work beautifully and add extra dimension.
STORAGE INSTRUCTIONS:
Store the cheesecake in the refrigerator, covered, for up to 3–4 days. For longer storage, freeze slices in airtight containers for up to 1 month. Thaw in the fridge before serving.
Related Recipes:
If you liked this recipe, you’ll definitely enjoy these refined and creamy creations:
- No-Bake Matcha White Chocolate Cheesecake
- Lemon Chamomile Tart
- Lavender Honey Panna Cotta
- Vanilla Bean Earl Grey Shortbread Cookies
CONCLUSION:
This No-Bake Earl Grey Mousse Cheesecake is proof that simple ingredients can create something extraordinary. With its soft, creamy texture and floral-tea fragrance, it feels fancy enough for a celebration but is easy enough for a weeknight treat. Whether you’re a tea lover, a cheesecake enthusiast, or simply someone who appreciates a delicate dessert, this one is sure to impress—no oven required.